I'm taking a cake decorating class and I LOVE how this one came out. It is Satin Ice Fondant...YUMMMM
Showing posts with label From the Kitchen. Show all posts
Thursday, January 15, 2009
Gift Cake!
I'm taking a cake decorating class and I LOVE how this one came out. It is Satin Ice Fondant...YUMMMM
Labels:
From the Kitchen
Wednesday, November 5, 2008
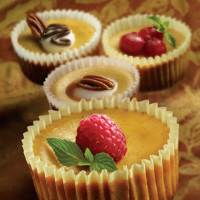
Mini Pumpkin Cheesecakes!
So these are why I had to run to the store last night. If you like pumpkin you have to try these!
Ingredients:
18 Paper Baking Cups
18 Gingersnap Cookies
12 oz Cream Cheese, Softened
3/4 Cup Sugar
1 Tablespoon Argo Corn Starch
1 teaspoon Pumpkin Pie Spice
2 Eggs
1 Cup Canned Pumpkin
1/3 Cup Karo Lite Corn Syrup
Place paper baking cups in muffin pans. Place 1 gingersnap in each cup.
Beat cream cheese, sugar, corn starch and pumpkin pie spice with an electric mixer until well mixed. Add eggs and blend well. Add pumpkin and syrup. Beat 1 minute.
Pour filling into cups, dividing evenly. Bake in a preheated 325 degree oven for 30-35 minutes, just until set.
Chill for 1 hour. Garnish as desired.
Labels:
From the Kitchen
Friday, October 31, 2008
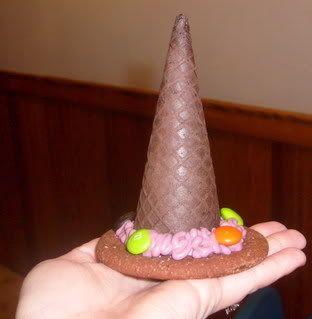
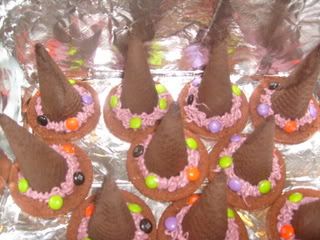
Witch Hat Cookies!
LOOK! I made the cutest lil' cookies for Baby Girl's class. I just have to share! They are super-dooper easy to made. I also made Cheese Fingers but I didn't take a picture.
To make the Witch Hats:
You will need Oreo Ice Cream Cones, Archway Dutch Cocoa Cookies, Frosting and M&Ms.
Take an Oreo Cone, put in 1 Tbls M&Ms, frost the top edge, place a cookie on top so the cone is centered on it, tip over so the cookie is on the bottom and let the frosting crust. After its crusted (hardened a little) decorate with frosting around the cone and decorated with some M&Ms. Thats it!
Labels:
From the Kitchen
Monday, July 7, 2008
Cars Cake!
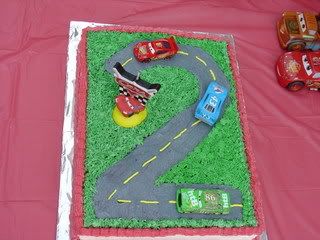
Here is the cake I made for my son's 2nd birthday! He loves the movie Cars so we decided to do a Cars themed party. I was looking at cakes everywhere but could not find an easy looking one to make. My searching either led me to tiered cakes or ones that where done with fondant (which I know nothing about). I finally found one that someone cut out into the shape of a Two. I thought it was perfect, until the time came to make it. I was thinking "how in the world is the cake not going to fall to pieces when I frost it" So that's when I came up with the idea to frost the top like a road in the shape of a two and decorate it like a road and add cars to it. Then frost the rest of the top like grass. It really was a lot easier than my 1st plan. I was very pleased on how it came out, since it was my very first cake that I have decorated. My mother-in-law, Gaytha frosted the sides and red ribbon parts. I still have a lot to learn.
Labels:
From the Kitchen
Saturday, July 7, 2007
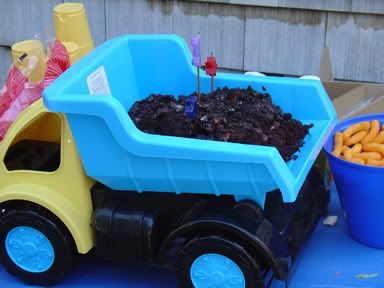
Easy Truck Cake!
This is the cake I made for my son's 1st birthday party. The theme was "Construction". We had construction hats, safety cone to hold the balloons, caution tape and this Truck Cake! It was perfect and easy. At the Dollar store I also found candles that said Happy Birthday that where on little sticks.
Recipe:
2 baked 8- or 9-inch round cakes
2 3-oz. pkgs. prepared chocolate pudding
3 to 4 cups chocolate cookie crumbs
1 Dump Truck (washed out)
1. Cut the cakes into 3-inch-long slices, then cut them in half.
2. Layer the cake, pudding, and crumbs in the clean dump truck
Labels:
From the Kitchen
Subscribe to:
Posts (Atom)